Appearance
Host Landing Page
A Landing Page gives your host a single, shareable URL where visitors can view and book your events. Instead of embedding the booking form on a specific WordPress page, you can share this link anywhere—email, social media, or your website—and anyone with the link can see your host profile and available booking options.
This guide walks you through enabling the landing page for a host and choosing which booking forms appear on it.
Step 1: Open Your Host Settings
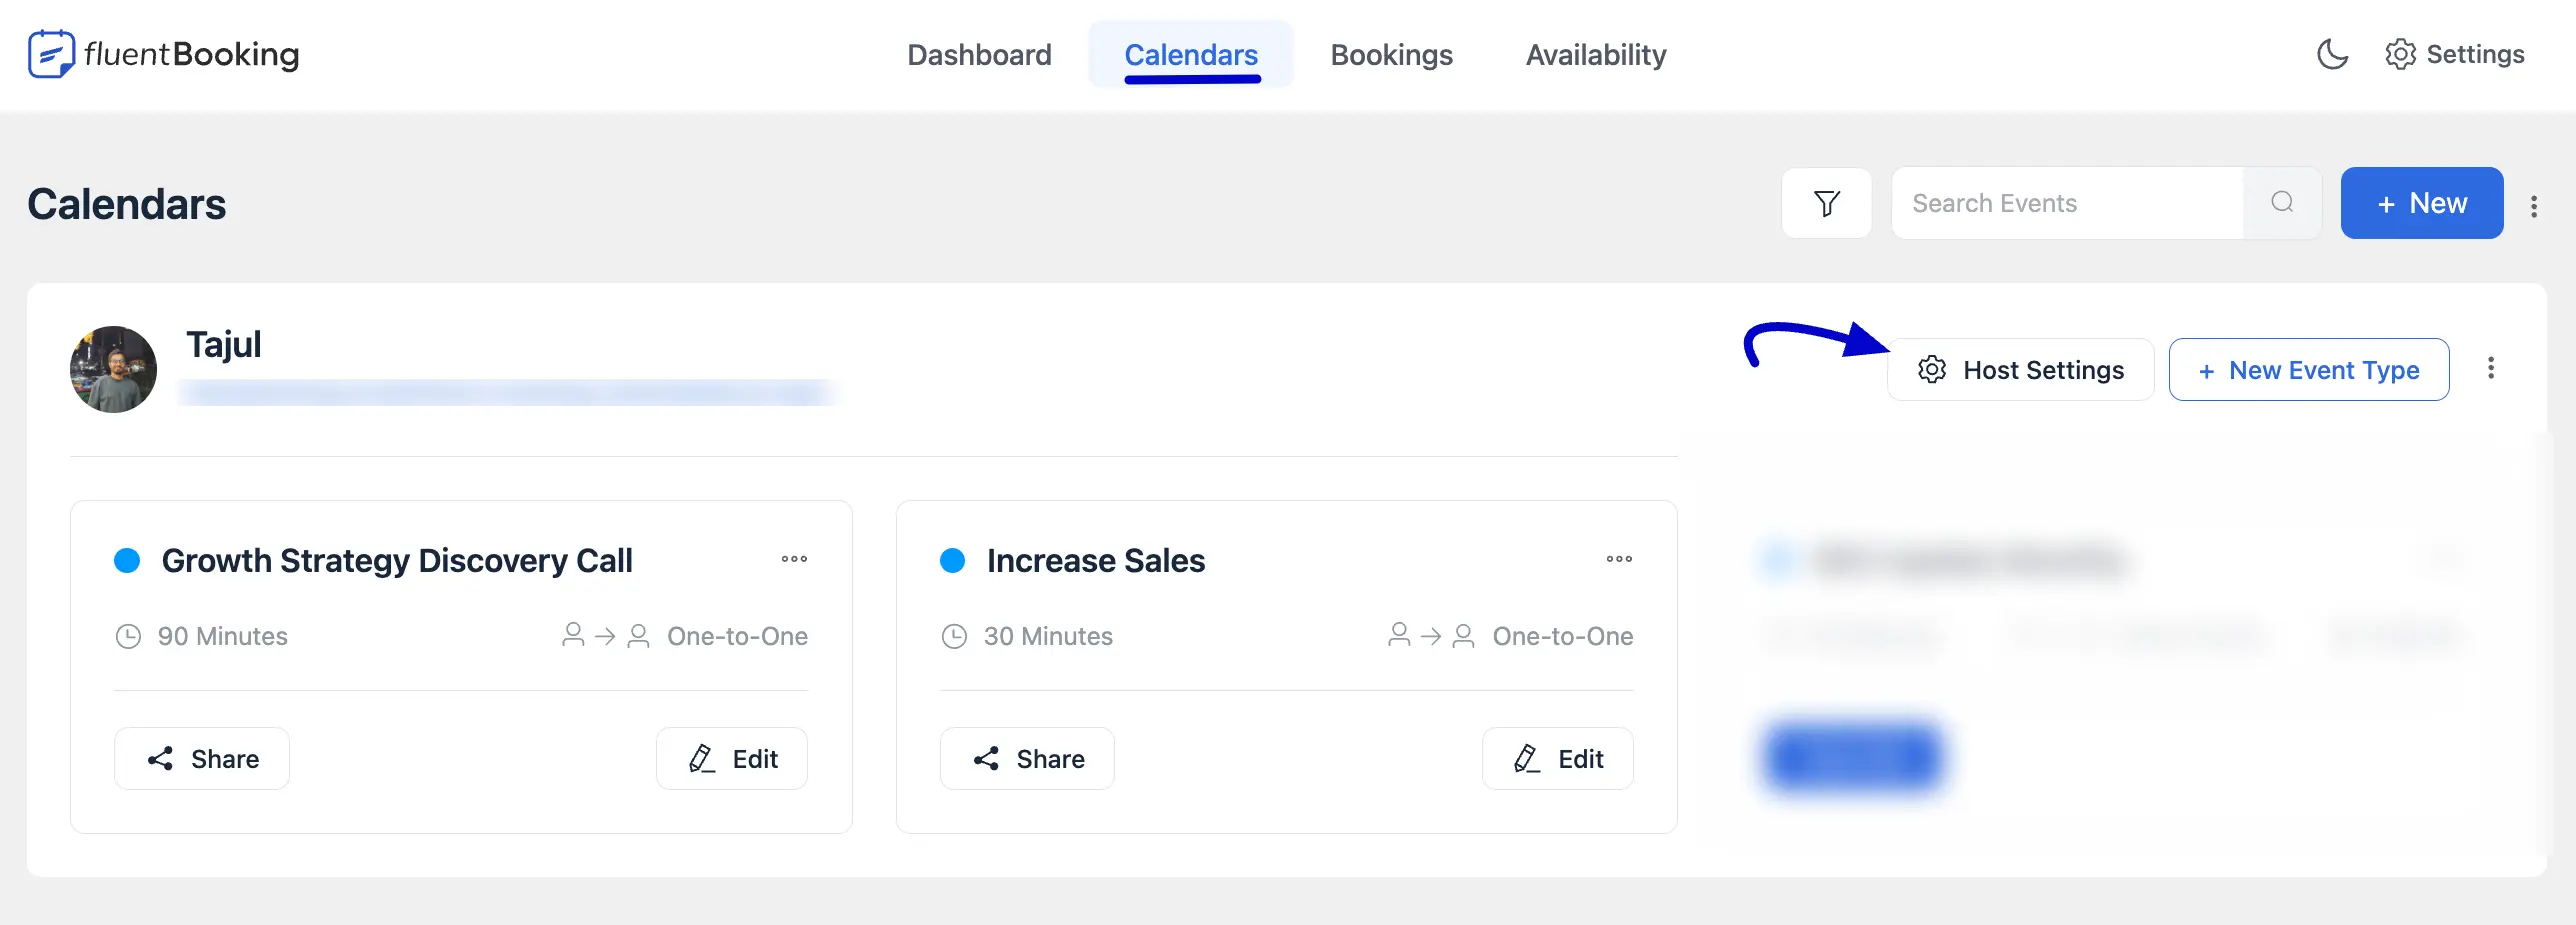
Go to your FluentBooking dashboard and click Booking Calendars in the top navigation. Find the host you want to enable a landing page for, then click the Host Setting (or settings) button next to that host to open their profile settings.
Step 2: Enable the Landing Page
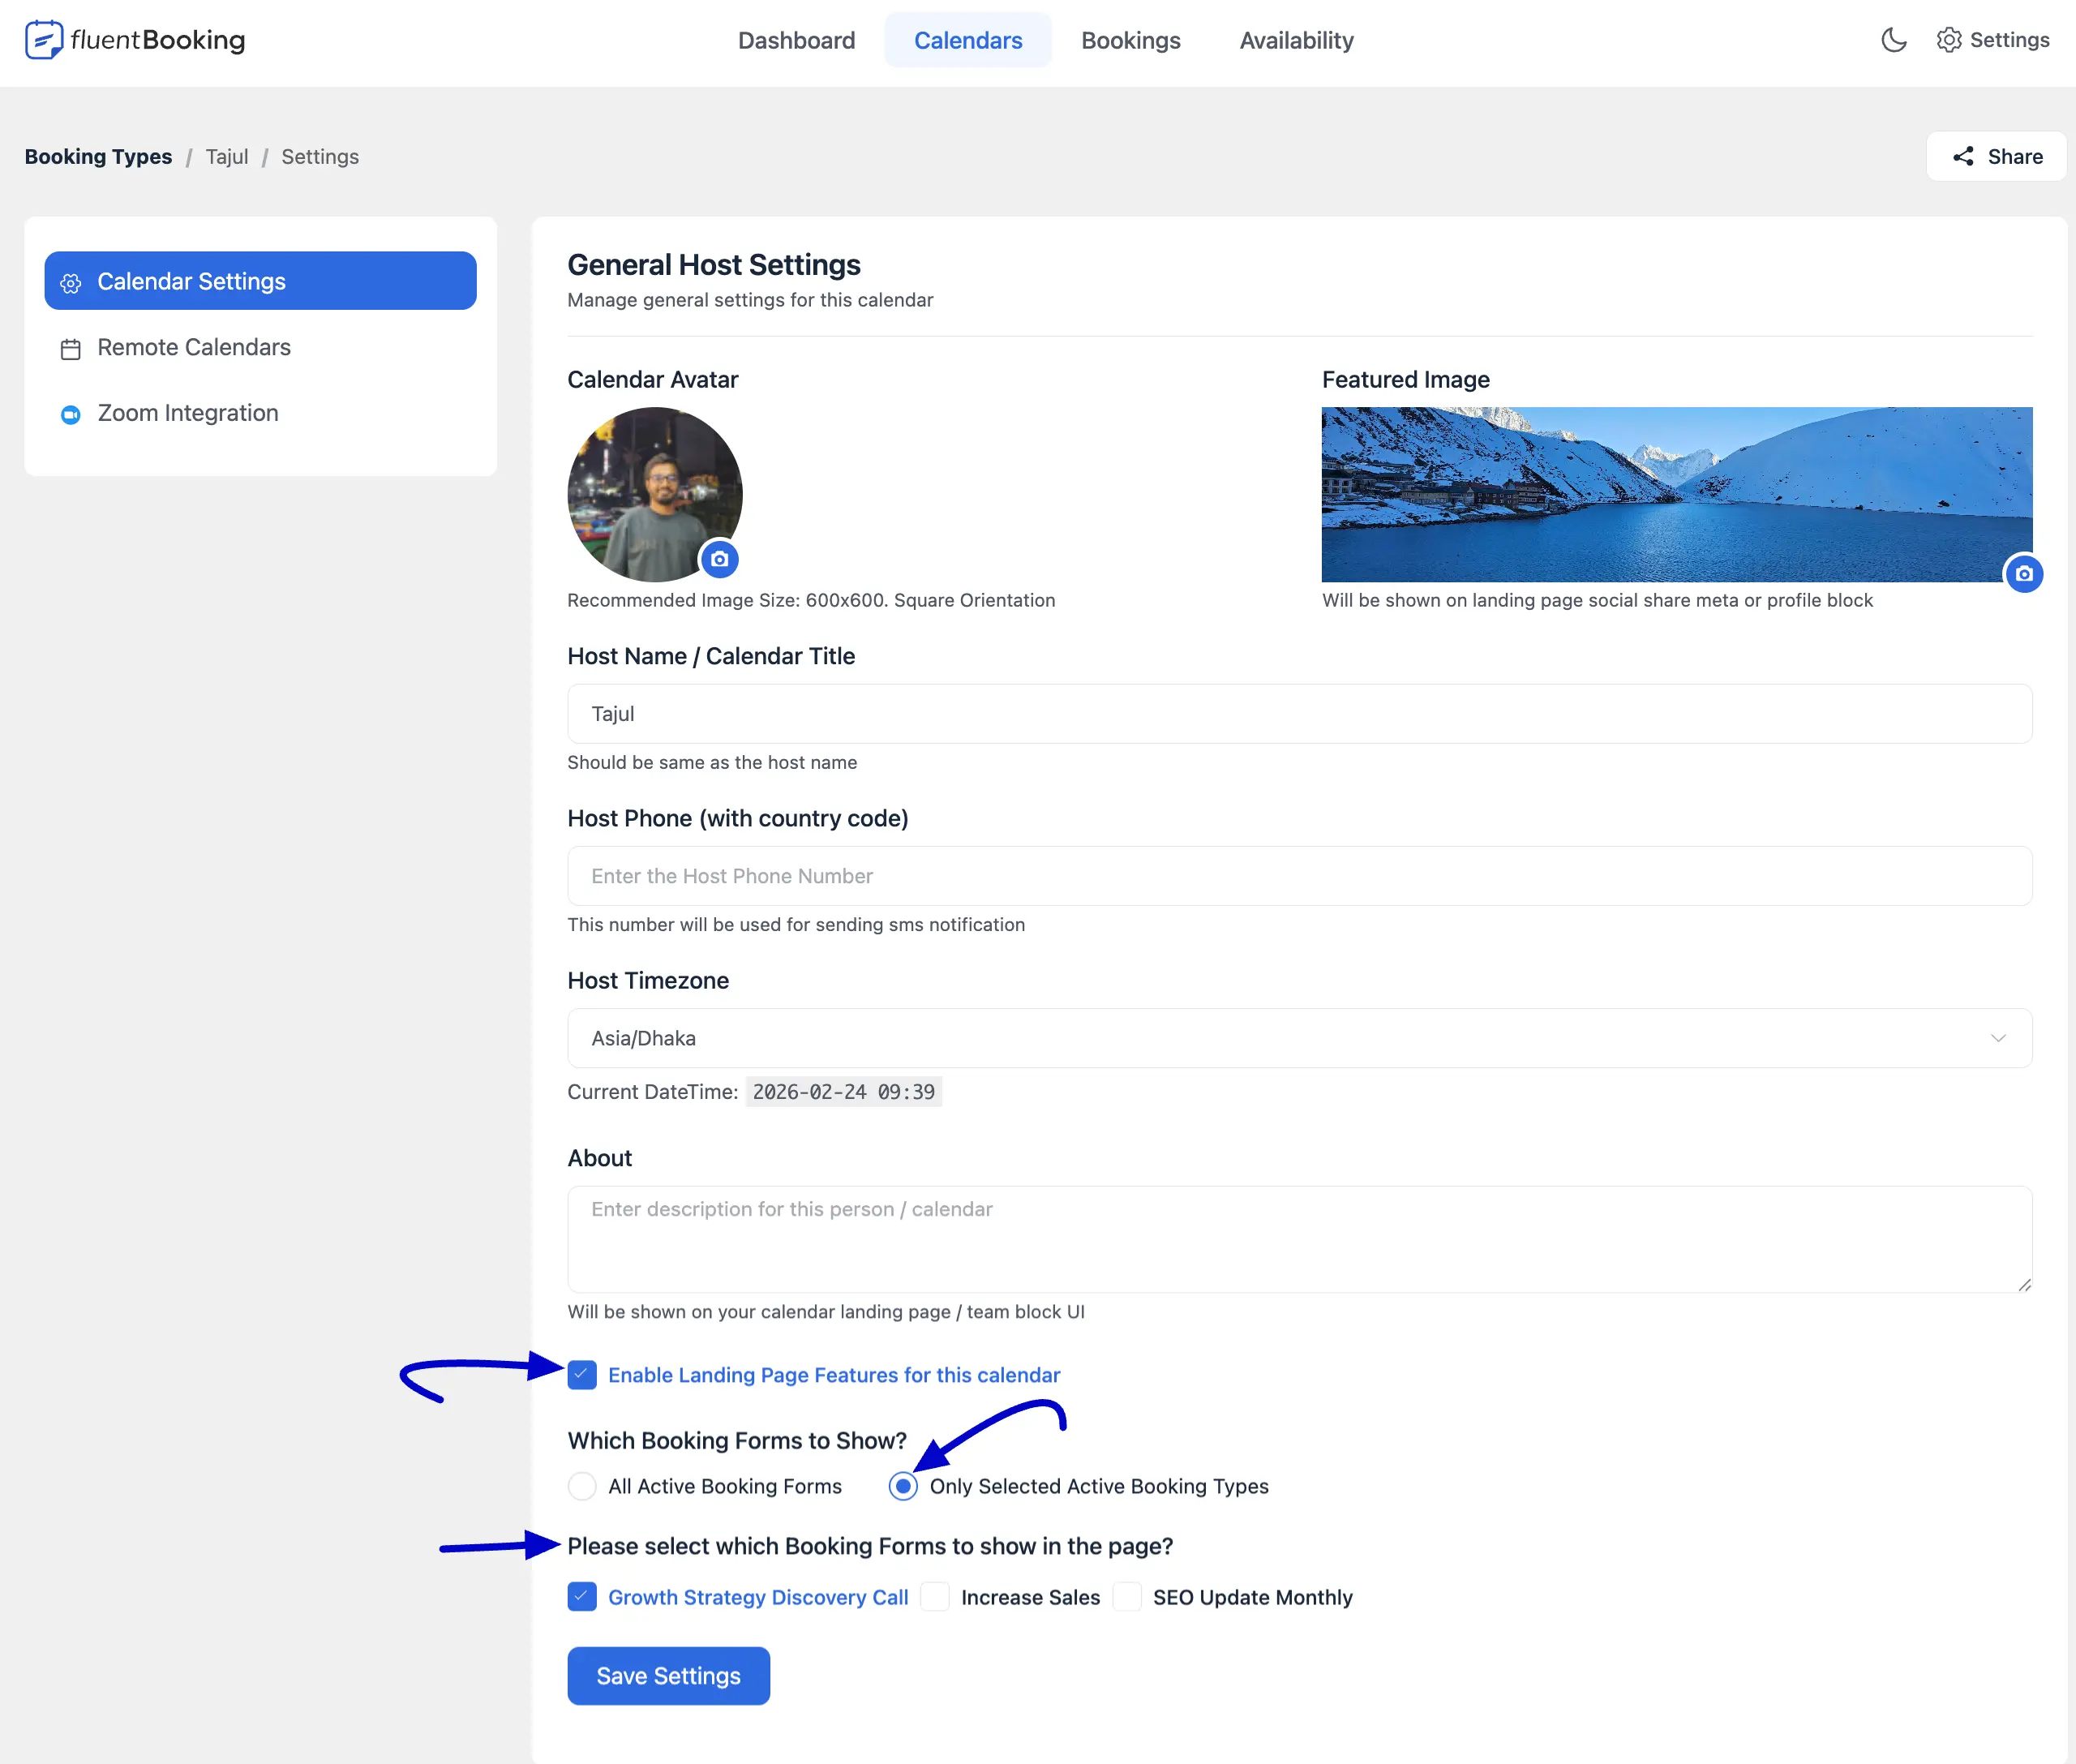
On the General Calendar Settings page, scroll down until you see Enable Landing Page Feature for this Calendar and turn this option on (enable it).
When enabled, FluentBooking generates a public profile URL for this host. You can share this URL with anyone so they can view the host and book events without visiting a specific page on your site.
Step 3: Choose What Appears on the Landing Page
You can control what visitors see when they open the landing page link:
- All Booking Forms — Every event type for this host is shown. Visitors can choose any event and book.
- Selected Booking Forms — Only the event types you choose are shown. Use this when you want to limit which services or events are available from this link.
Select the option that fits your use case. If you choose Selected Booking Forms, pick which events to display from the list.
After saving your settings, copy the host’s landing page URL from the calendar or share settings and use it in emails, social posts, or your website. To learn how to add the booking form to a WordPress page or block instead, see Add Booking Form to Your Site.
Next steps
- Clean Up Booking URLs — make the landing page URL more readable.
- Create a Booking Event — add more event types to this host's landing page.