Appearance
Advanced Event Settings
FluentBooking is the ultimate tool for managing your website's bookings. It offers a range of Advanced Settings to enhance your booking management.
In this article, we will explore the booking advanced features available in the Advanced Settings section.
Important
This page assumes you have already created a booking event.
Accessing Advanced Settings
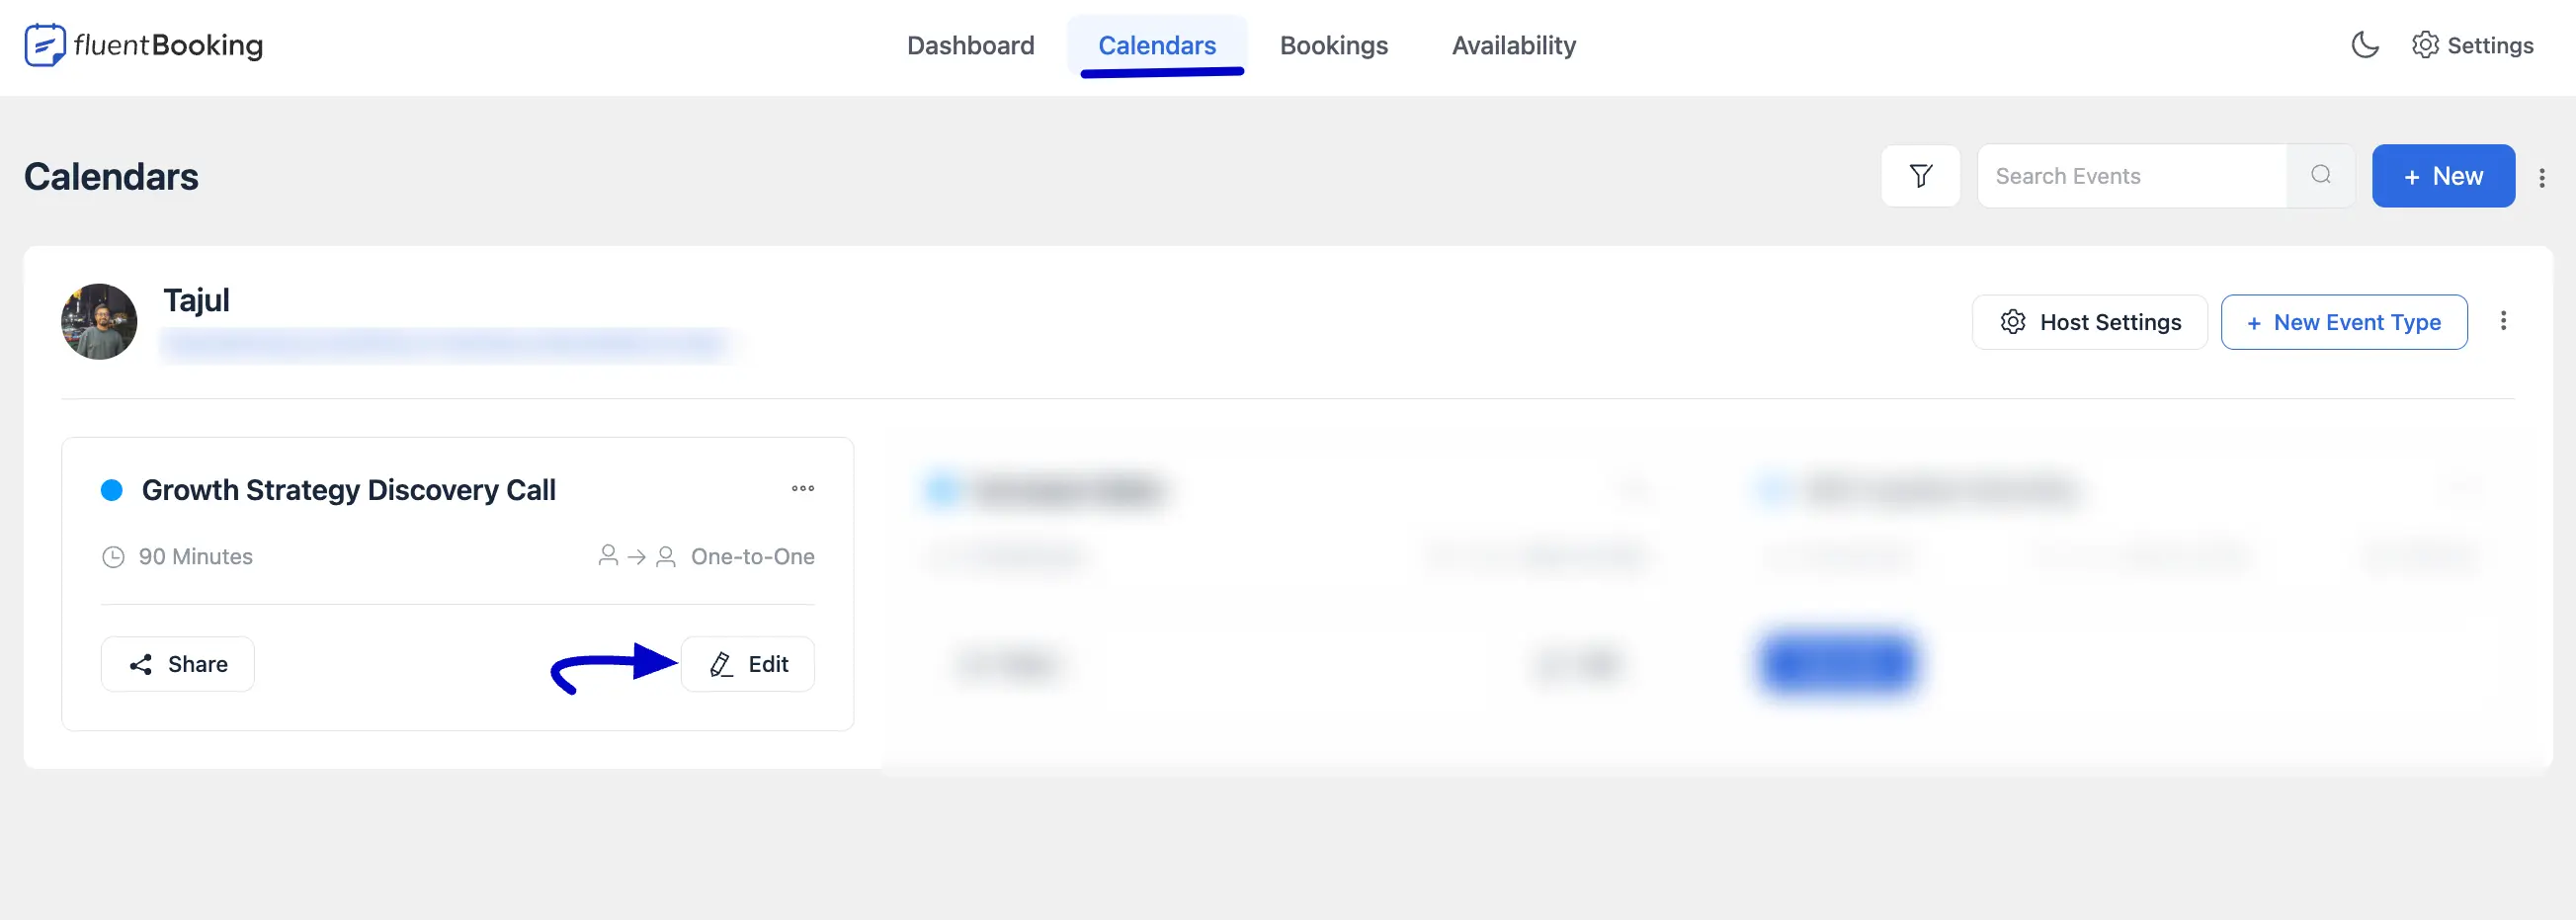
Go to the Calendars in the FluentBooking navbar and click the Edit button for the booking you want to access Advanced Settings.
In the booking editing page, select Advanced Settings from the left sidebar. Here, you will find all the advanced settings and features to make your booking more customizable and effective.
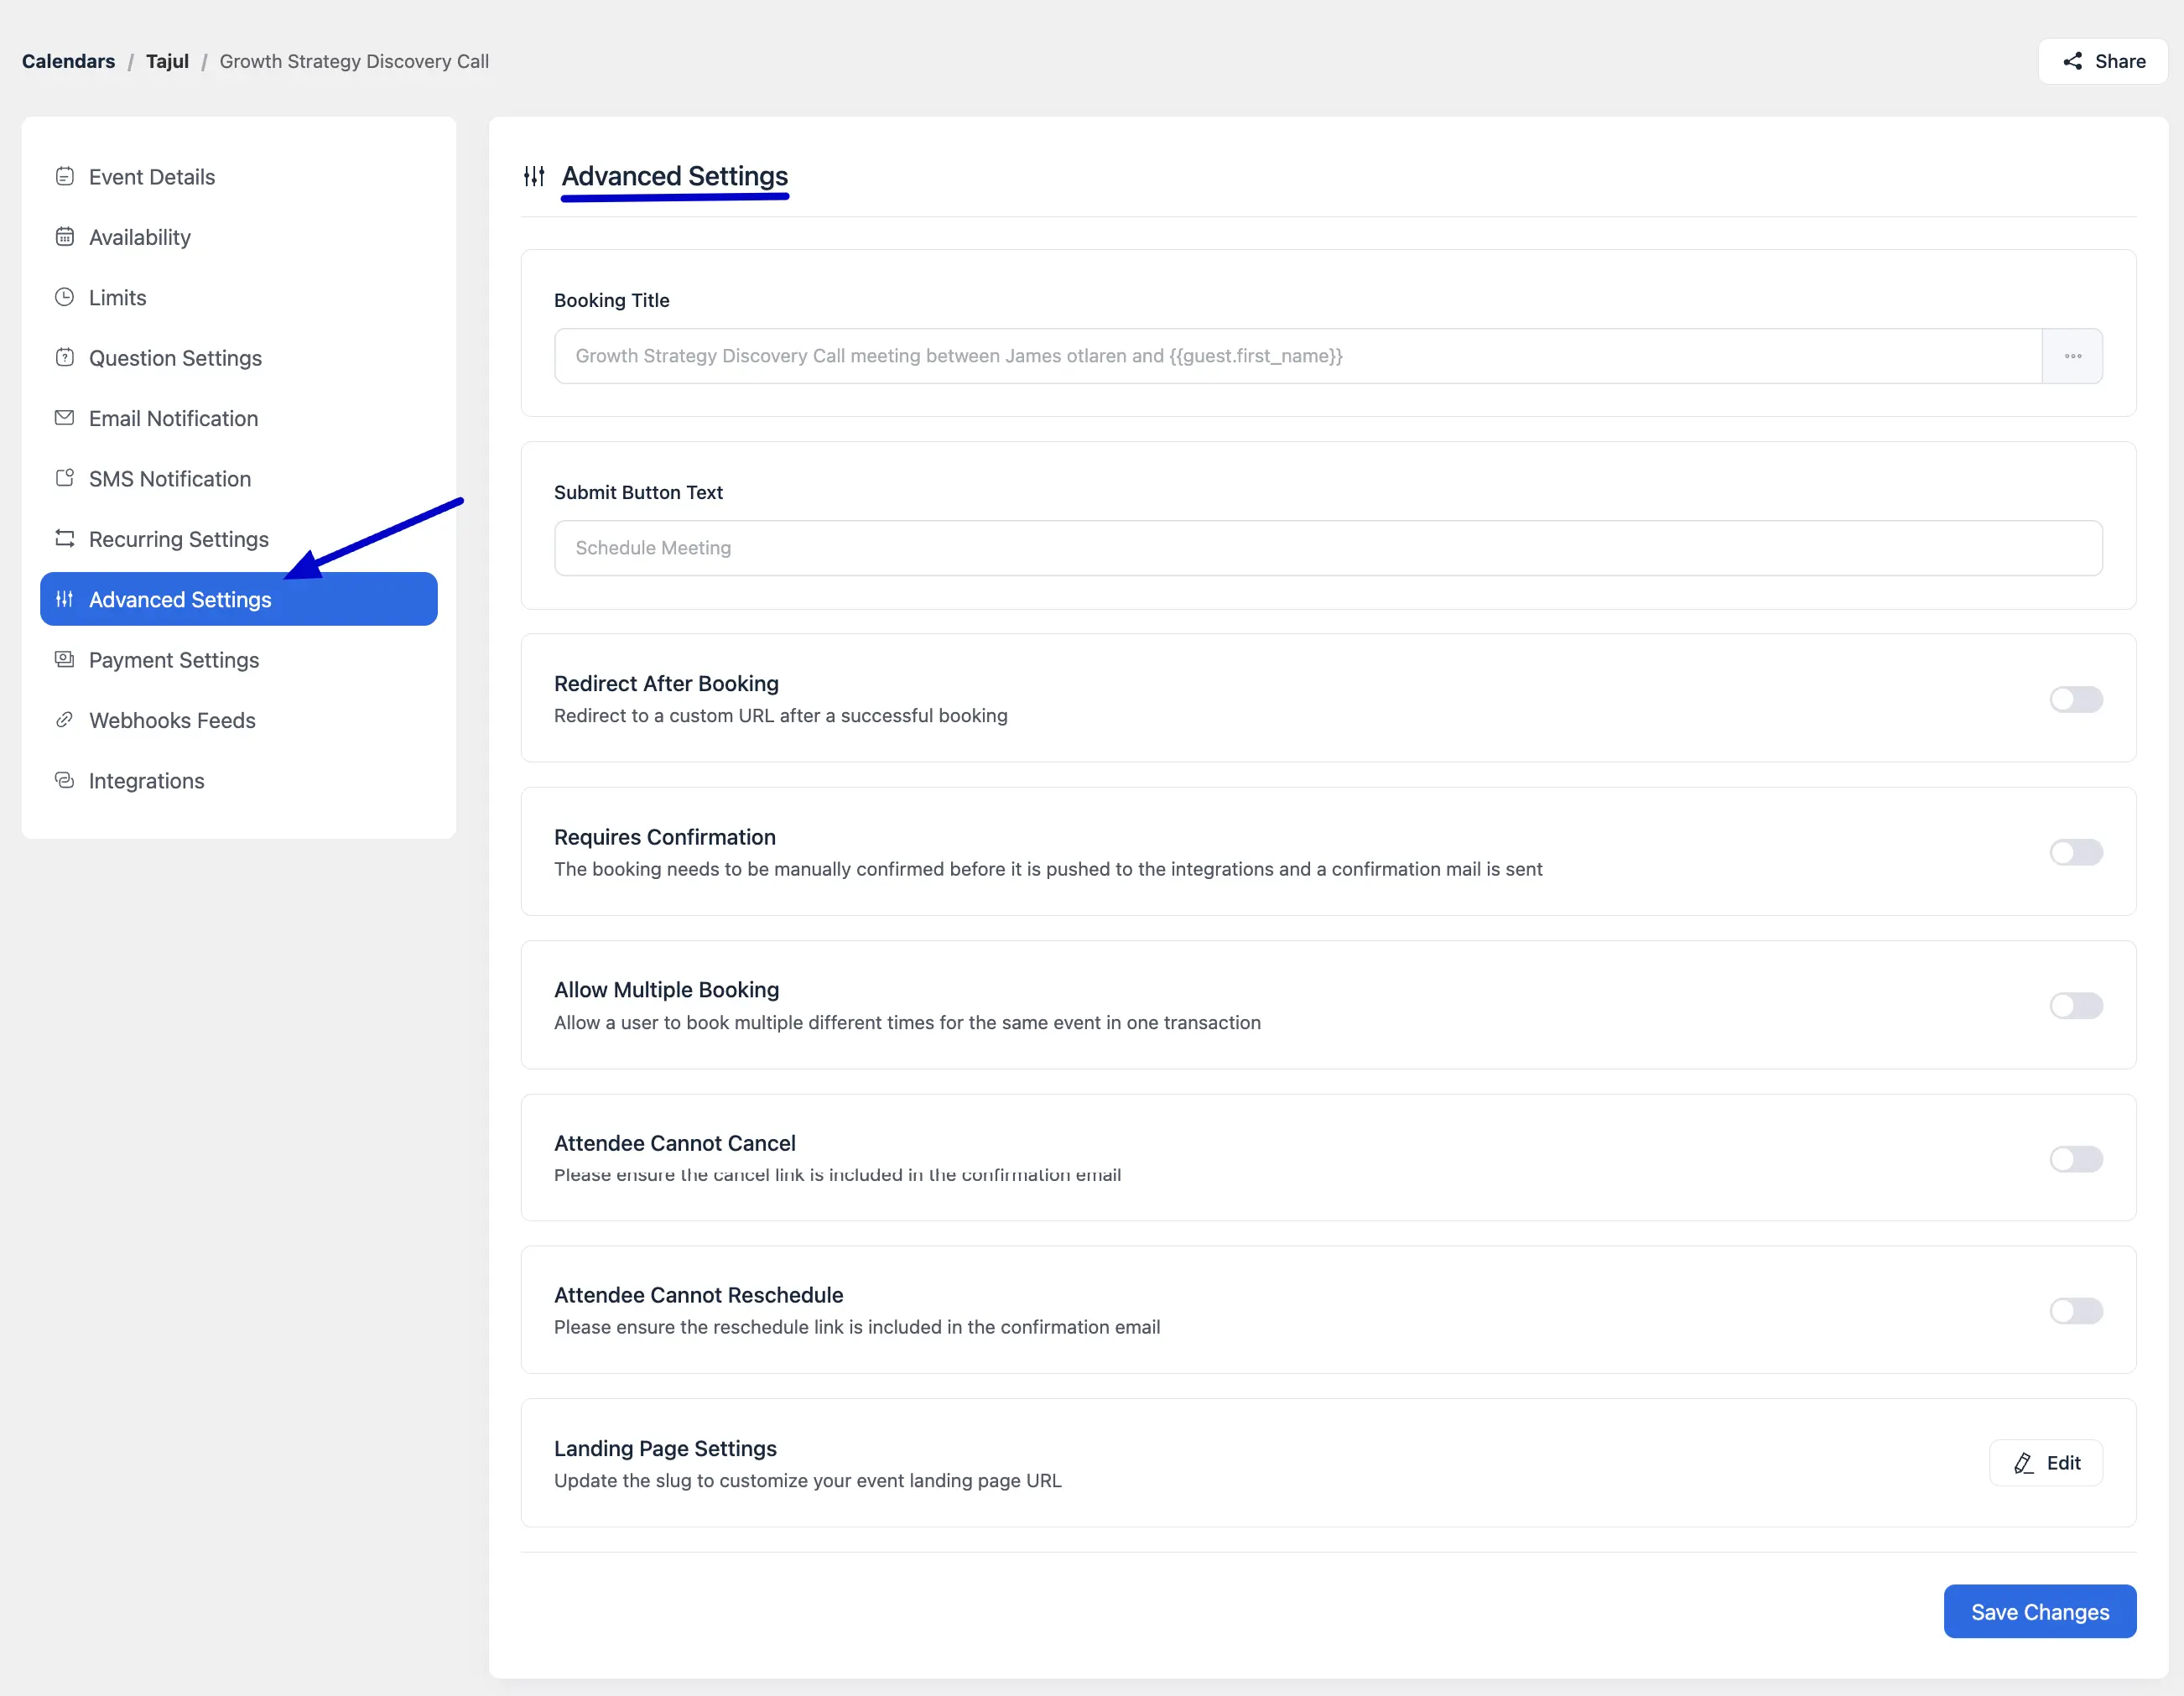
Booking Title
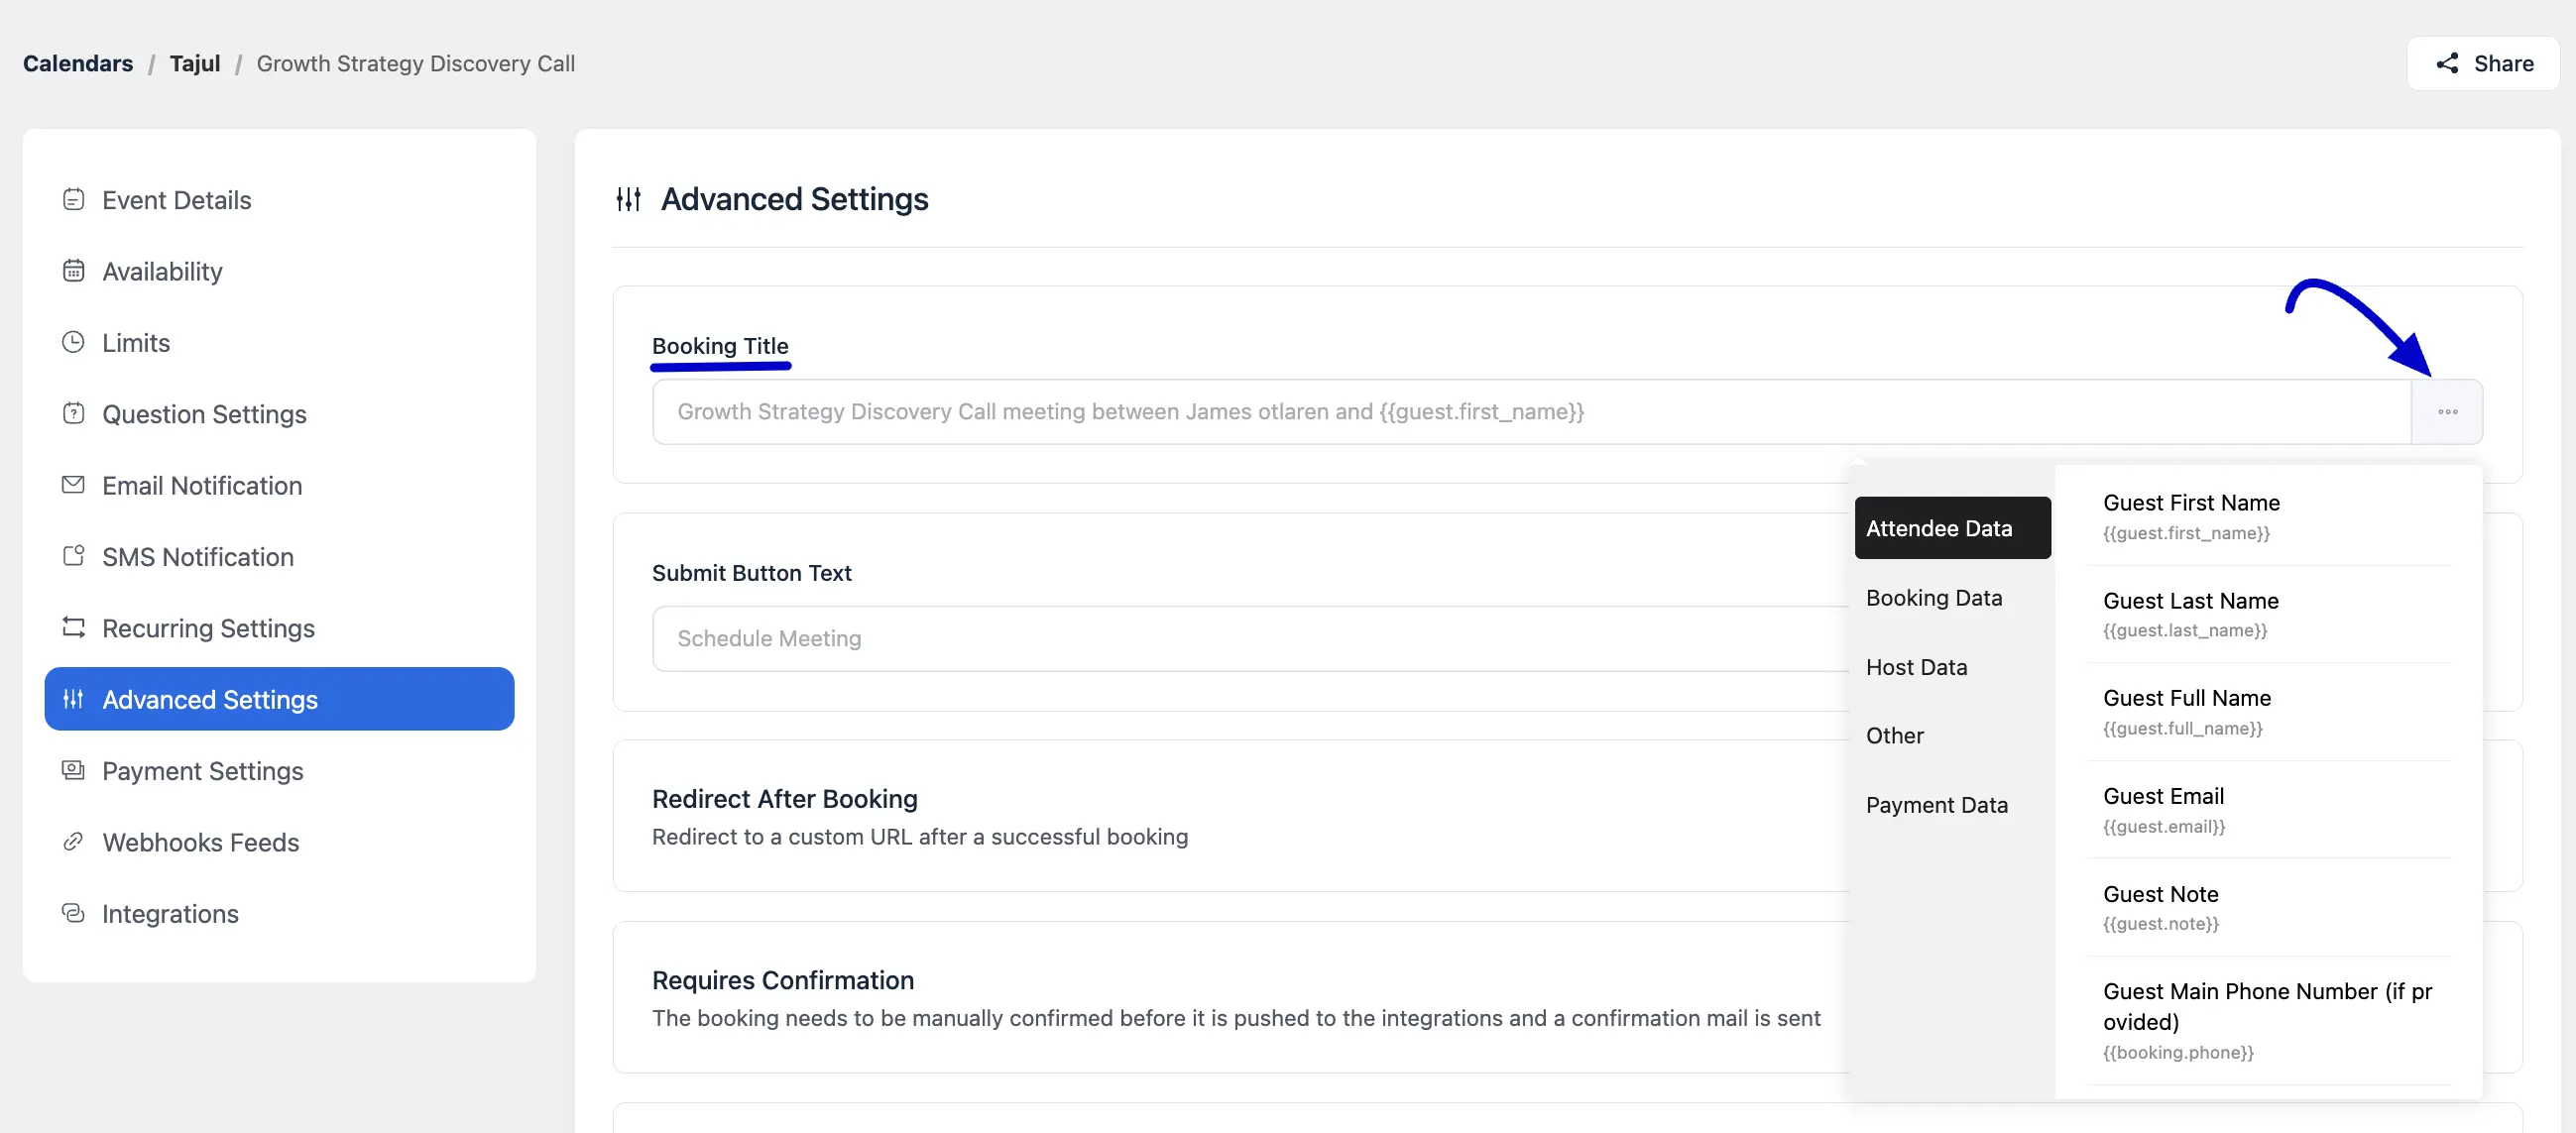
In the Advanced Settings section, the first option you'll see is the Booking Title. Here, you can set an advanced title for your bookings using shortcodes. Click the three-dot button next to the booking title field to view the available shortcodes.
Submit Button Text
You can customize the Submit Button text on your booking form. To do this, simply enter the desired text for the Submit button and click the Save Changes button to apply your update.

Redirect After Booking
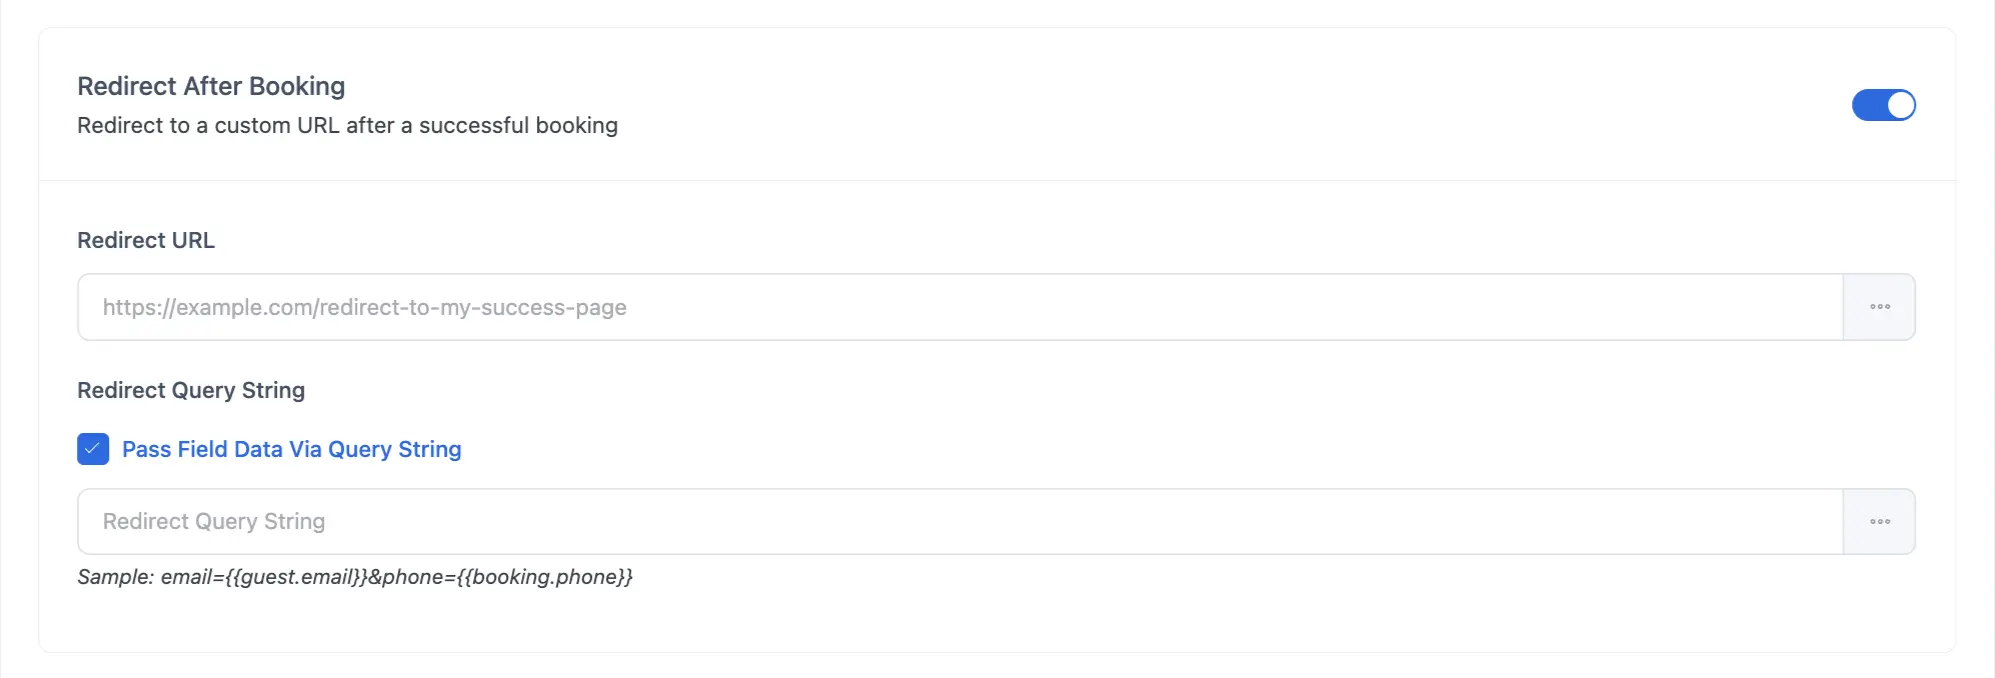
Here, you can set the page to which attendees will be redirected after a successful booking.
Alternatively, you can check the "Pass Field Data Via Query String" option and simply add the shortcode. The data will then be passed with the URL link according to the shortcode you have placed.
Requires Confirmation
To enable manual confirmation for your booking, toggle the Requires Confirmation option. Select Always if you want to manually confirm each booking before it is finalized.
With the “When booking notice is less than” option, you can specify the notice time required for confirming the meeting. For example, if you set a meeting at 10:00 AM with a 30-minute notice time, the host will need to confirm any bookings made within 30 minutes of the meeting start time.
NOTE
The Requires Confirmation option is only available for one-to-one events. In the Advanced Settings of other event types, this setting will not appear.

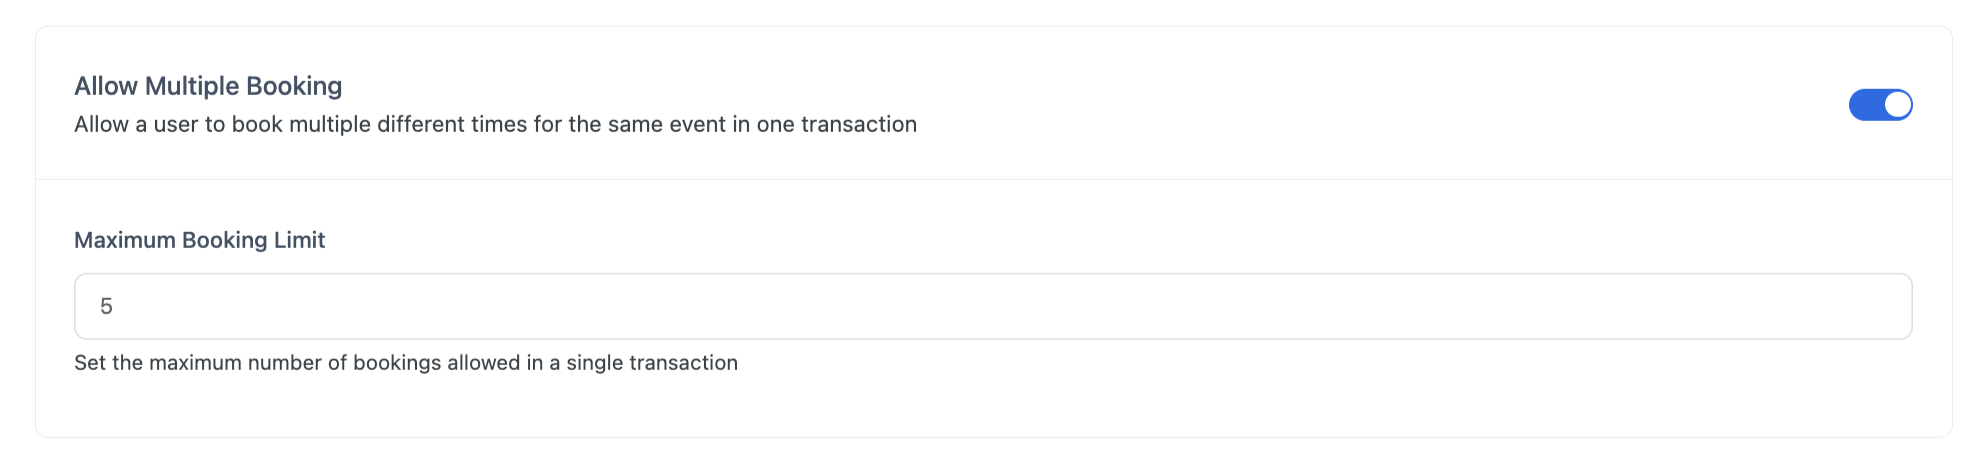
Allow Multiple Booking
Allowing a user to book multiple different times for the same event in one transaction means that attendees can select and reserve multiple time slots for a single event within a single booking process.
This feature is useful when an event has various sessions or appointments, enabling users to book all their desired times at once, rather than making separate bookings for each time slot.
Here you can also set the Maximum Booking Limit as you want.
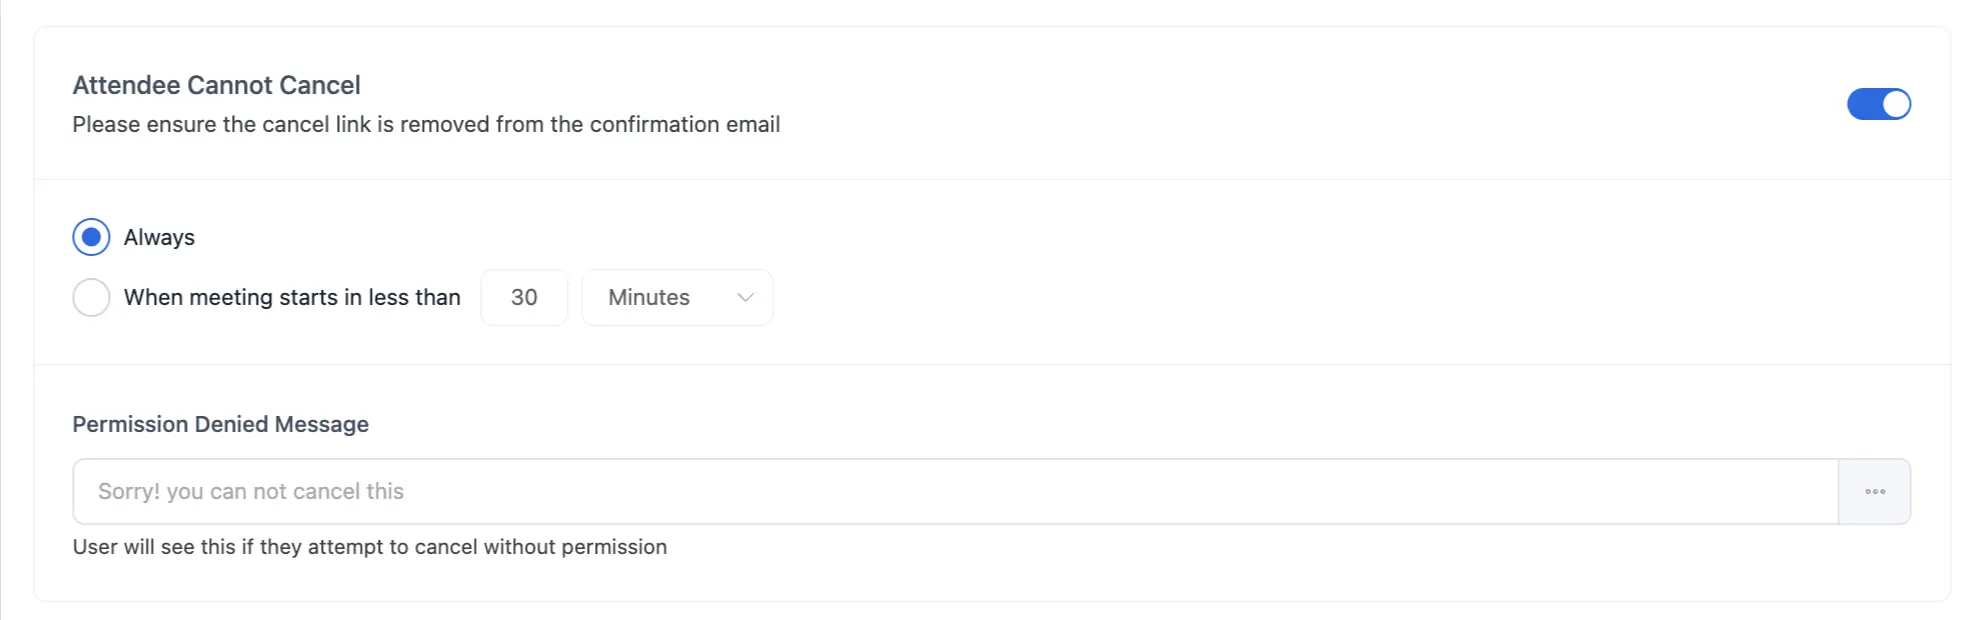
Attendee Cannot Cancel
Once you confirm the meeting, the attendee will no longer be able to cancel it. Enable the Attendee Cannot Cancel option to activate this feature. You can also set a specific time frame during which the attendee cannot cancel the meeting, such as 30 minutes before the start.
Additionally, you can set a message to display to attendees if they attempt to cancel the meeting.
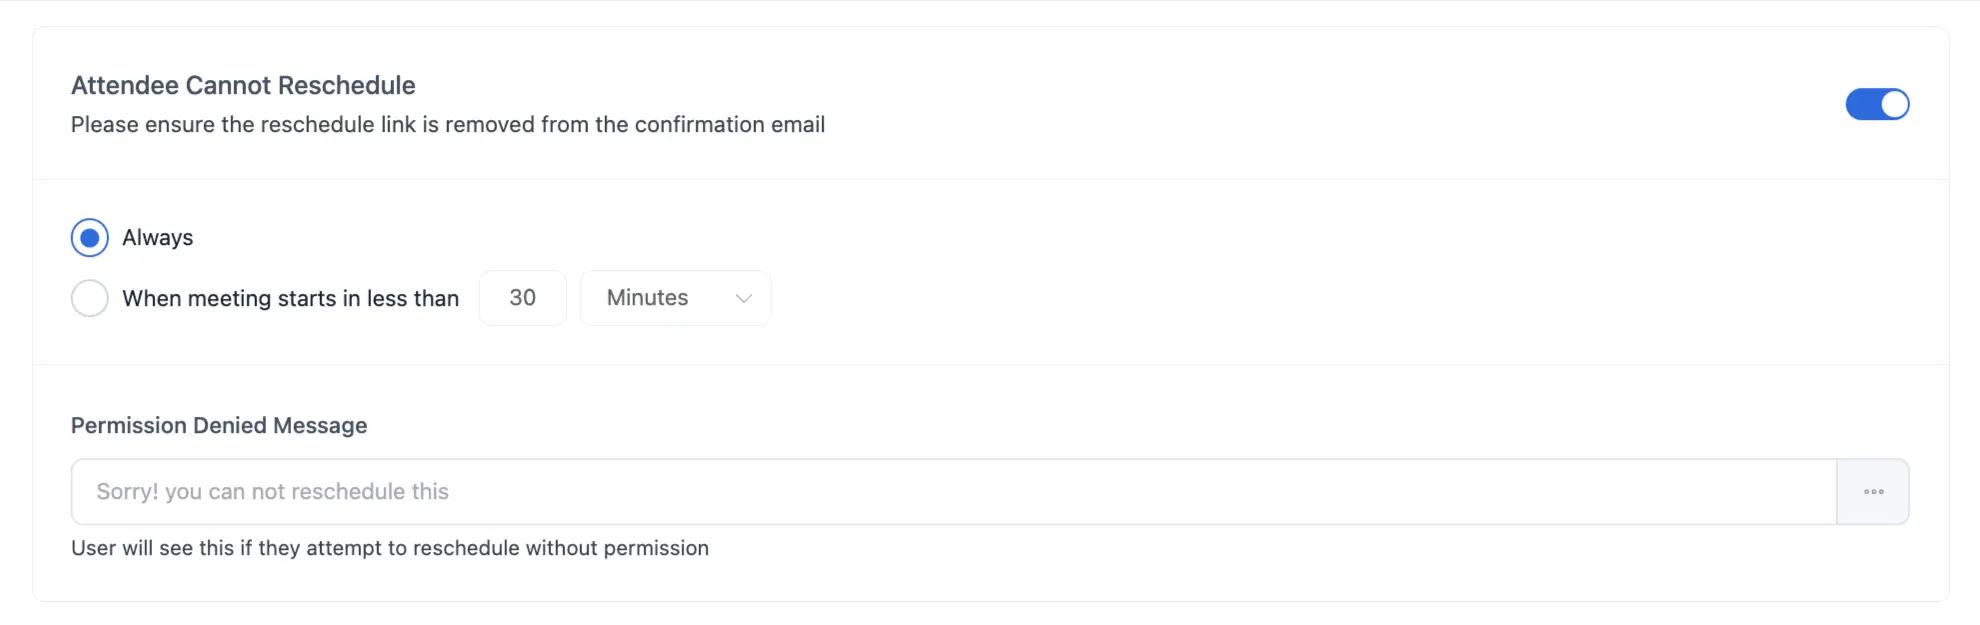
Attendee Cannot Reschedule
By enabling the Always option, attendees will not be able to reschedule a meeting once it has been confirmed. You can also specify a time frame and set a message to notify attendees if they attempt to reschedule.
Landing Page Settings
You can add or change the slug of your event landing page URL using this option. Click on the Edit button and then enter the desired slug in the Slug Field to update.
